Pages

Tuesday, July 23, 2013

Dog Collar Tutorial

Hello!

I'm very excited to share this with you! The tutorial I'm reviewing today can be found here by Country Brook Design. The instructions were very easy to follow and it only took about 20 minutes start to finish!! I think I'm going to have to  make more...to my dog owning relatives, don't be surprised if you get one of these for Christmas :) And, did I mention they are so much cheaper (not to mention cuter) than the ones found in the store?


I made a Steeler's collar sized extra small, and a medium Iowa State collar. 
Cute huh?

Felicity and Greg didn't like it. I suppose cat collars will not be in my future.


This is definitely one to try for yourself!
Thank you, and see you next time!


Saturday, June 30, 2012

Steelers Handbag - Custom Order!


I made this purse on the request of one of my coworkers who is a HUGE Steelers fan. I have some experience with making bags, but I've never done anything this extensive before - mostly totebags.
The parameters I was given for this project were to "make it like the bag I have now, but Steelers." :) Since I'm not one to (willingly) follow someone else's pattern, I made a diagram on scrap paper and set to work.
What do you think? I personally could care less for football, but apparently there are millions of fans nationwide or something like that...
After she brought it to work, I immediately had two requests for identical bags! I think that qualifies as a job well done?

Tuesday, April 17, 2012

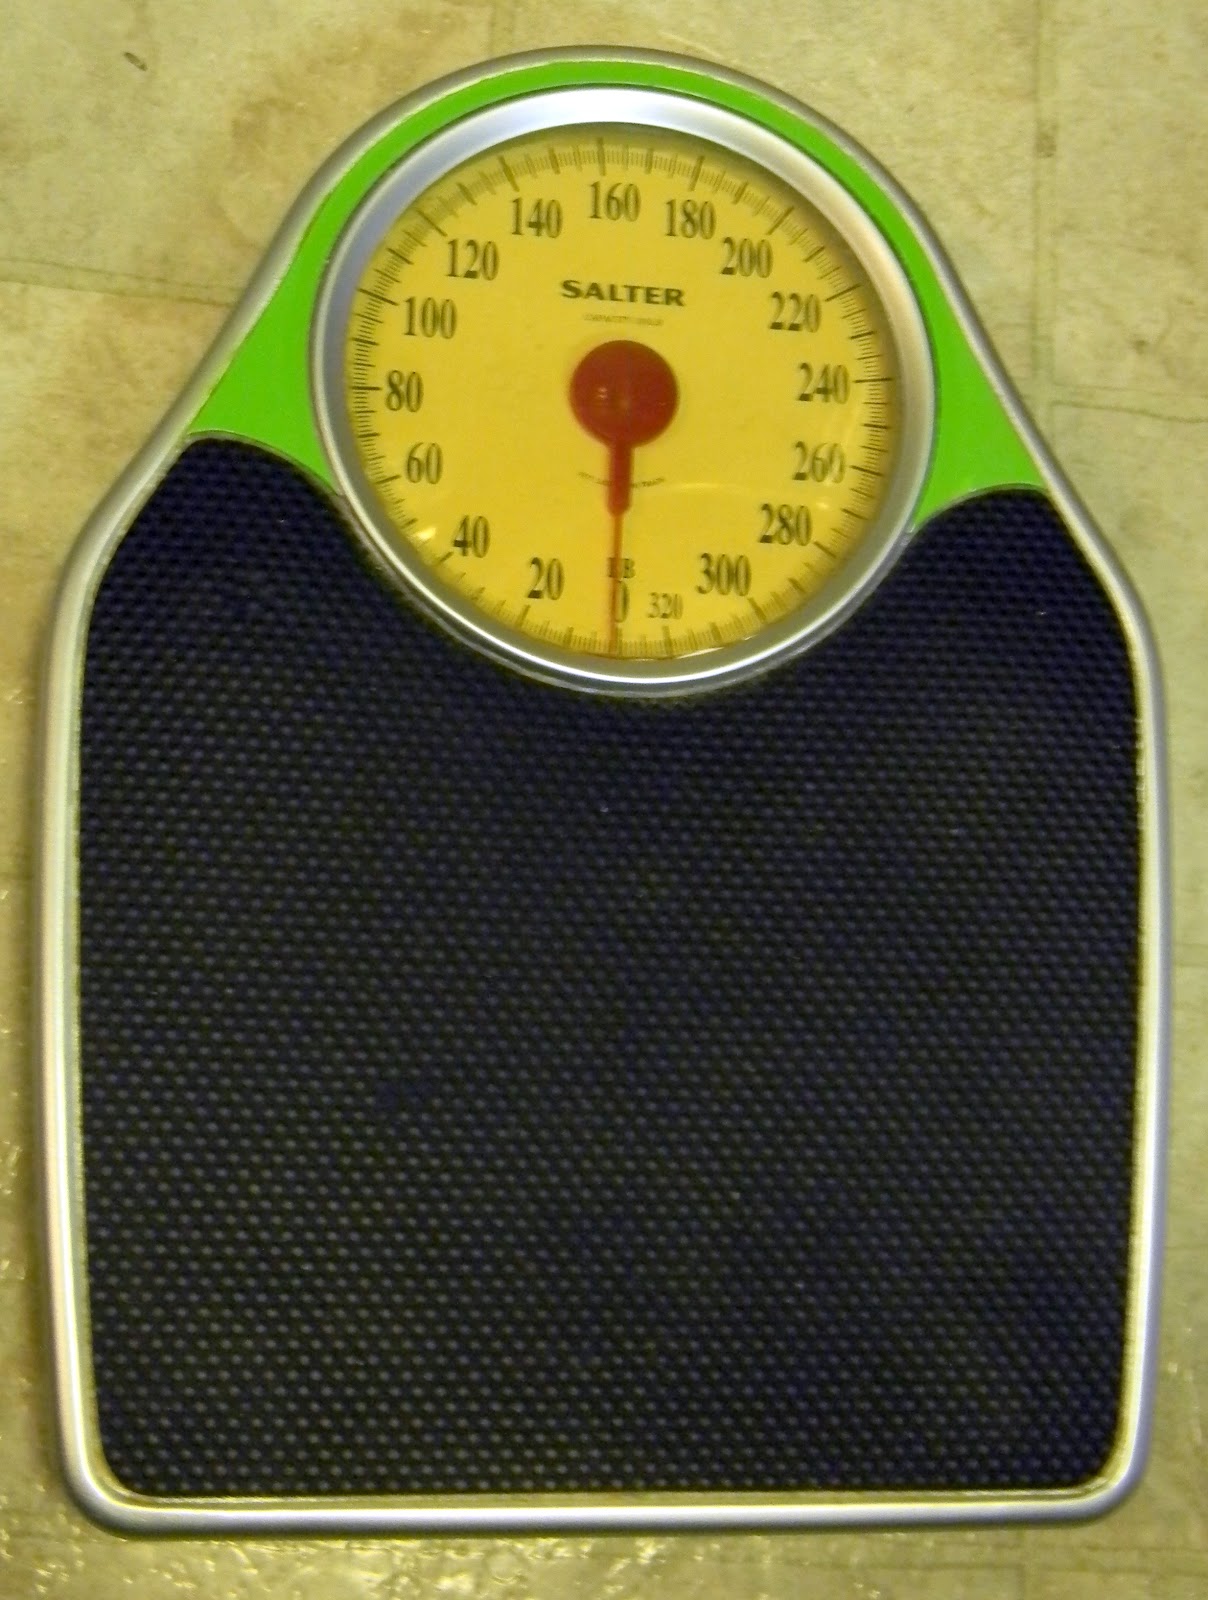
Bathroom Scale Makeover - Tutorial

You got a new scale!
Nope.
Oh...Then what'd you do with that crap one?
That is that crap one :) 


Don't you love when projects work out like that? 
The best part about this is that it was 100% complete in under an hour. Here's how I did it. 

Step 1
Acquire a crappy scale.
I got this one at Goodwill for about $2. 
Check to make sure it works before you buy it, of course.

Step 2
Clean said crappy scale.
Ta da! Looking better already....

Step 3
Masking tape.
Cover all of the parts you don't want to paint in masking tape and newspaper. You can paint the  'foot' part as well if you want, but I chose to leave mine black. 
Clearly you need to cover the face , unless you want the scale to be purely decorative :)

Step 4
Get this stuff
       
Metallic spray paint, a neon accent color (I used acrylic but this could be spray paint as well), and a clear coat. The clear coat is important if you want the paint to last longer!

Step 5
Paint
Since I planned to paint the green by hand, I went ahead and sprayed all of it. I would recommended doing this outside, but sometimes I don't follow my own recommendations - don't tell my landlord. 
The metallic paint also acts as a base coat for the acrylic. I did two coats of the green and it was fully covered. When you're done with that, spray everything with one or two coats of the clear coat. When that's completely dry...

Step 6
Remove tape. Amaze friends.
          
Stunning transformation, don't you think?

I love it when things turn out my way :)


Thursday, April 5, 2012

36 hours later...

A baby quilt is born! I was comissioned to make this quilt for a customer whose granddaughter had recently passed away. The quilt was intended as a baby shower gift for the new baby as something to remember her sister by - very sad, but sweet...


Scraps of fabric from the girl's clothes were used to make the quilt, as well as a few favorite photos. I ordered the prints from spoonflower.com, and was pleased with the results. For privacy, I don't want to post any of those photos too close up, however. Here's a few favorite blocks:


I think (hope!) she liked it! It's probably the most complicated quilt I've made yet, and I'm proud of my work :)


Here are some in-process pics. The colors are more true in this as well...there wasn't a lot of lighting on the day I handed it off, unfortunately.


Wednesday, January 18, 2012

Quick Tip for Etsy Sellers: Perfect Packaging

I've been selling on Etsy for awhile now, but only recently have I started bringing a steady rate of orders per week. I attribute this to blogging, tweeting, and keeping my shop updated, which are all things I was not as consistent at doing in the past. 


This increase in sales has prompted me to share this tip with you about packaging.
It's a simple thing, but I think that people who shop on etsy are looking for the extra touch they're not going to find if they buy something of the same price-range from a big-box megastore. 

I use recycled materials for shipping wherever possible, but I make sure to wrap the actual item with a scrap bit of tissue paper, fabric, or ribbon to pretty it up a bit :) 

I also hand stamp the address labels, which can be time consuming. To save time, I spent a little while this evening prepping some squares that I can attach to packages as I get them.

I used one of these stamps in the corner of a bit of spare scrapbook paper, 
in this case, but I frequently use the inside of security envelopes as well.


Aren't these beautiful?  I know you're jealous, you can admit it ;-)
I just can't get enough of this style of stamp.


So, here's my quick suggestion: keep all of your shipping supplies handy, make them eco friendly, and prep them as much as possible in advance. It will really help out when you realize you have another order 10 minutes before you're about to walk out the door to the post office....not that I'd know anything about that, of course ;)


Do you have any good packaging advice for etsy sellers? Leave it in the comments!


Thursday, January 5, 2012

Dolls make me nervous. Especially when they're babies.

A little while ago, I was visiting at a friend's house and one of her children came to me sad-faced, doll in hand, and asked, "Do you sew??" Not one to crush the dreams of children, I said I did and examined the doll in question. It's arm was almost completely unattached, likely due to someone loving it a bit too much...kinda disturbing when you think about it ;-)

This is the doll in all it's original glory:
Super creep-tastic, right? 

To be fair, I've always hated dolls. I'm not sure why exactly; all I can say is that my family learned very quickly they could not give me a doll as a gift if they were not prepared to spend the following few hours consoling a crying child. 

I decided I'd feel better about the doll if it looked more like this:

Monkey Pajamas...Much better!

I made it completely on the fly, no patterns or tutorials were consulted. To follow this process for your own disturbing naked baby doll, take rough measurements around the body parts you intend to clothe, making sure to include seam allowance. 


It's also a good idea, if you have a cloth doll like this one, to mimic the shapes of the existing cloth when envisioning construction. This particular doll has a pretty weird shaped body, so following that logic was the only way I could pull it off. 

I thought buttons would be too difficult for the younger child (above the choking age, don't worry), so they are purely decorative and velcro was used as a closure. 

The kids were so happy to receive this! 
And, I was happy to have successfully completed another crafting challenge :) 

Monday, December 12, 2011

Christmas Papercraft Giveaway - Winner!!

And the winner is....

*Drumroll*


@SassyCatJamee

Congratulations! 

I will be contacting you for shipment information via email. 

If you didn't win this time, don't despair! Giveaways are awesome and I definitely plan to do more in the future, perhaps sometime soon....*hint hint*


Friday, December 9, 2011

Christmas Papercraft Giveaway *closed*- $30 Value!

Do you scrapbook? Make Christmas cards?? Papercraft in general???

If you said yes, that's great! I do none of those things. 

I've never liked working with paper because if you make a mistake you've basically ruined everything. You can't rip the seams on a card and try again like you can when sewing
...and let's just face it I'm kind of a quitter.

Well anyway, this sad reality works out really well for you, my (soon-to-be) loyal blog readers,
 because I am giving away everything you see below:

\

o - Recollections Stamp Set - Includes 30  stamps and 3 stamp pads
o - 50 sheets of assorted 8.5 x 11" Christmas colored cardstock
o - Elizabeth Brownd 18 sheet 4x6" Designer Mat Pad

All you have to do to win this lovely prize pack is follow me!

Subscribe to my blog posts and comment below stating you're a follower, 
and tell me what you'd like to do with these items. 


For extra entries (totally optional): 

  Follow me @crashcoursecrft on Twitter! 
.
   Tweet about this giveaway and give me a mention. Leave your twitter name in your comments so I can confirm your tweets. One tweet entry per day please!


Please make sure to come back and leave a separate comment for each entry!


The giveaway will end Monday 12/12/11 at 8:00 PM CST.
The winner will be selected via random number generator and will be announced shortly after that. 

Please make sure your comment will link back to a profile or email address 
so that I may contact you for your shipping address!

Thank you, and good luck!

Thursday, December 8, 2011

A few favorite old projects

I was looking through some old folders today and came across photos of some projects I've done in the past.  Since these are items I have no intention of selling in my shop, I've never posted about them before. 

This is one of my absolute favorites, and I am quite sad that I gave this away in a swap:

Can you guess what it's made from? 


It's a thrift-store skirt, recycled into a tote bag!


This is one that I made for myself, immediately following. 
(Alicia, if you ever read this - I'm sorry for my plagiarism! I just couldn't get them out of my head)

As a matter of fact, I do have a tutorial on craftster for this very bag, so you can make your own!

Next up....

ZOMBIE KITTY!
 This was made for swap on Craftster, and I'm a little sad I no longer own it. It took forever! The "scars" are hand-embroidered on linen, and the faux fur was hand-stitched on top of that. 
It gives it a really great undead look in real life. 


This was a custom order on etsy for a boxy clutch - I think it came out pretty well!


Space for cards, fully lined...


I'm think of making a tutorial on this, what do you think?


Dollar-store Frame, revamped with lace! The cat picture is just a placeholder....

It's gold underneath, so it looks really pretty in the light :)


I hope you enjoyed these projects, feel free to ask questions if you 
want more details on how they were done!


Sunday, December 4, 2011

Scrap Happy Patchwork Swap on Craftster - Completion!

I've sent to and received from my partner, Abbeyrd83 on Craftster for this swap. I was definitely spoiled :)

Here's a couple pics of what I sent. First, I sent one of my wallets made using the scrappy patchwork technique I posted earlier. 


 Next, I saw a box pouch on her wists and used scrap fabrics to make this one:

I love the blue zipper! 

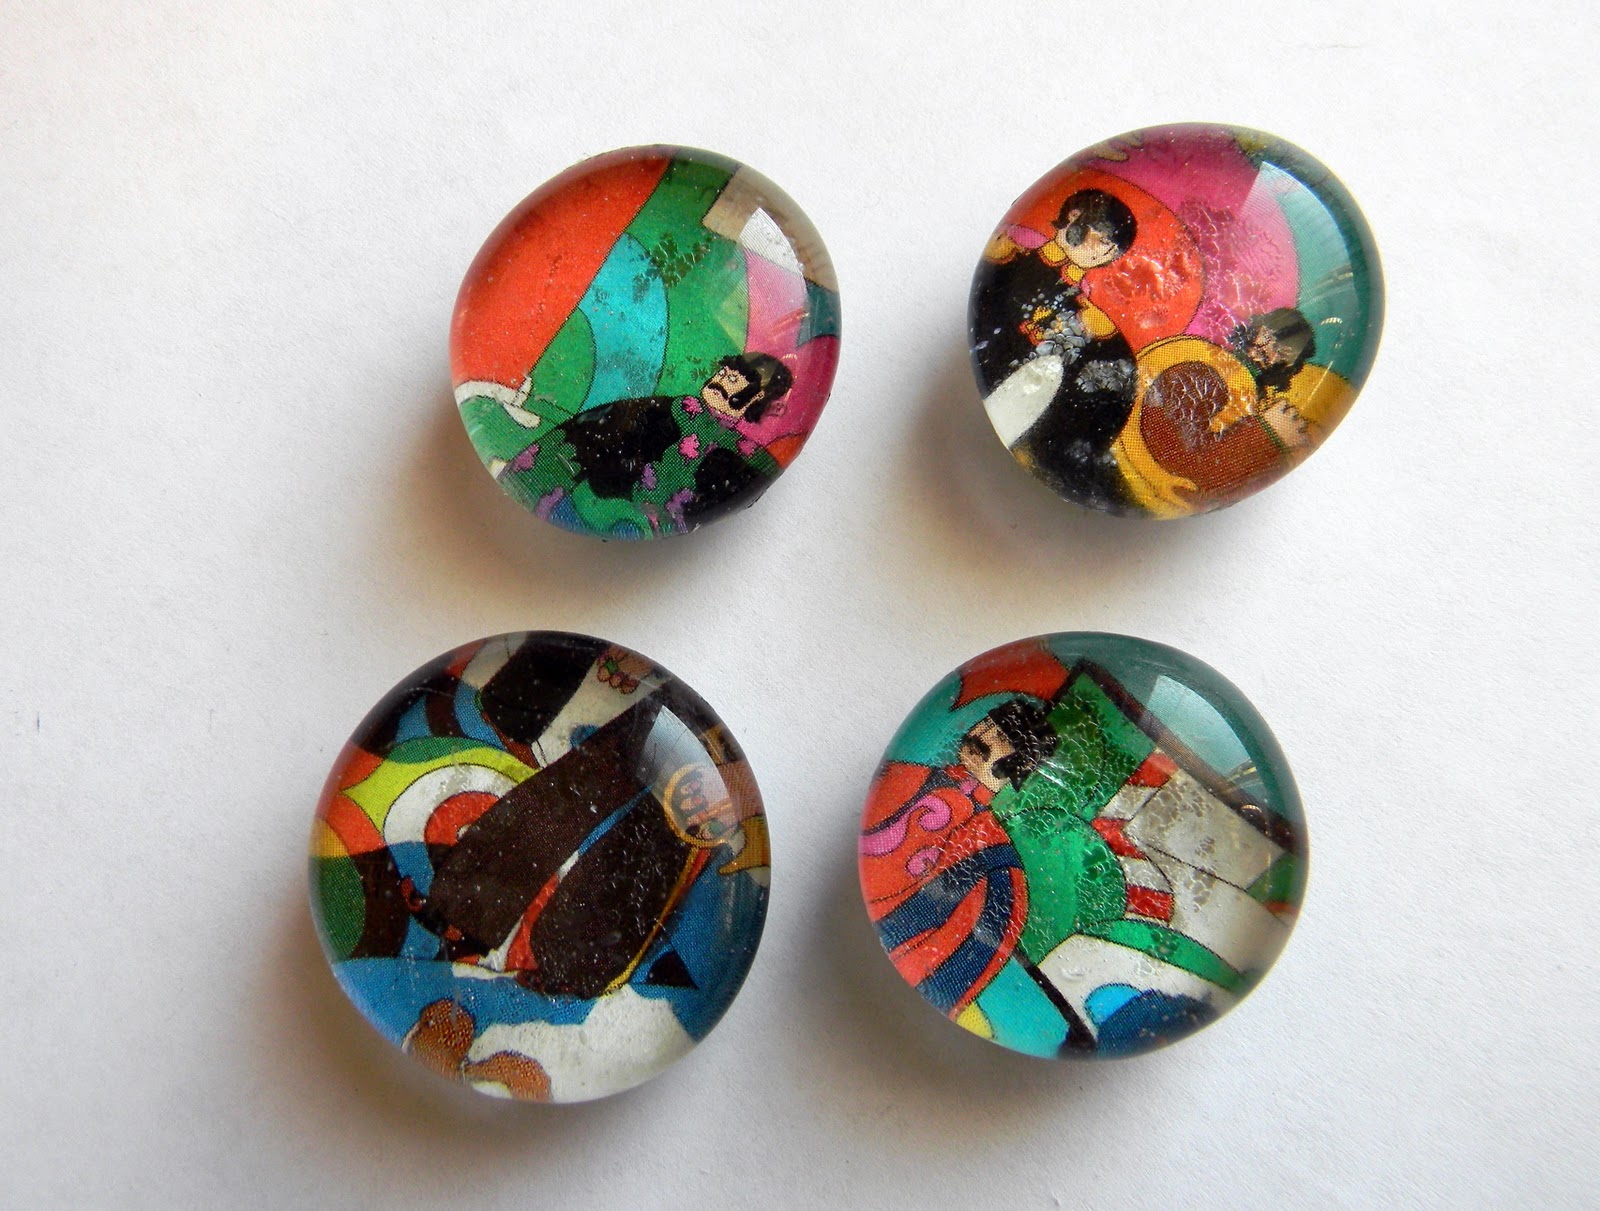
For extras, I sent some Beatles themed magnets since Abbeyrd83 is a huge fan.
I also sent some chocolate-drizzled Sour Patch Kids (amazing btw), but they didn't photograph well.  I hope my partner enjoyed everything!