Pages

Tuesday, October 25, 2011

Felt BLT Tutorial

I sell lunch bag sets that include reusable sandwich wraps on my etsy, but I wanted a prop to use for shows that wouldn't create a mess/become hard and smelly after sitting out for hours :)

Thus, the BLT was born!


Delicious, right? 

This is a great craft for older kids to make and younger kids to play with as well :)

Here is my easy tutorial to make your very own felt BLT or other bacon-related felt foodstuffs after the jump:

Saturday, October 22, 2011

Sneak Peek!

Exciting post and tutorial coming tomorrow....stay tuned!

Wednesday, October 19, 2011

Hawkeye Quilt

I made a baby quilt a few months ago for one of my managers. It was only the second quilt I've ever made, and technically the only 'real' one - the t-shirt quilt I made previously can only be loosely defined as a quilt :) 


Anyway, she is a huge Hawkeyes fan and not very 'girly' so I thought this theme was appropriate. 


I tried a traditional pinwheel pattern I'd seen online, but from what I know now about quilting there's many things I could have done more efficiently.


I used my regular sewing machine with it's regular do-everything foot to machine quilt a basic diamond shape.


You can see in some of the photos that there is some puckering, but overall I'm satisfied with the results. 


Did I mention I made this in under two weeks start to finish? They asked if I'd known about the baby shower beforehand when I delivered it, but nope, I started thinking about it once I received the invitation!


Overall, it was good practice and the gift was well-received. What more can I ask for? 

Tuesday, October 18, 2011

Halloween Cake Pops

Here are some photos of some cake pops I made recently for two potlucks at work:


Eyeballs and Jack-O-Lanterns! 

The eyeballs are red velvet cake and the pumpkins are pumpkin bread. 


These are from the second potluck, and as you can see I didn't have the time to decorate these as elaborately as the first. Some were vanilla cake mixed with chocolate chips, some were chocolate cake, and some were both :)

Bakerella gives instructions for this on her site. I used the same basic process, but suggest using only 3/4 of a tub of frosting instead of the full tub as her recipe states because I feel they hold together better that way.

*****Warning - Do not attempt unless you have many hours to devote to this!******

It took me the better part of a day both times to make these, but the less-decorated ones took only about five hours...(Yeah, you have to REALLY want to make these lol). 

But, the taste and certainly the presentation just about make up for it :)

Sunday, October 16, 2011

Quick and Easy Wall Art

I've had a pack of matching frames sitting around for quite some time now because I could never decide which photos to fill them with.

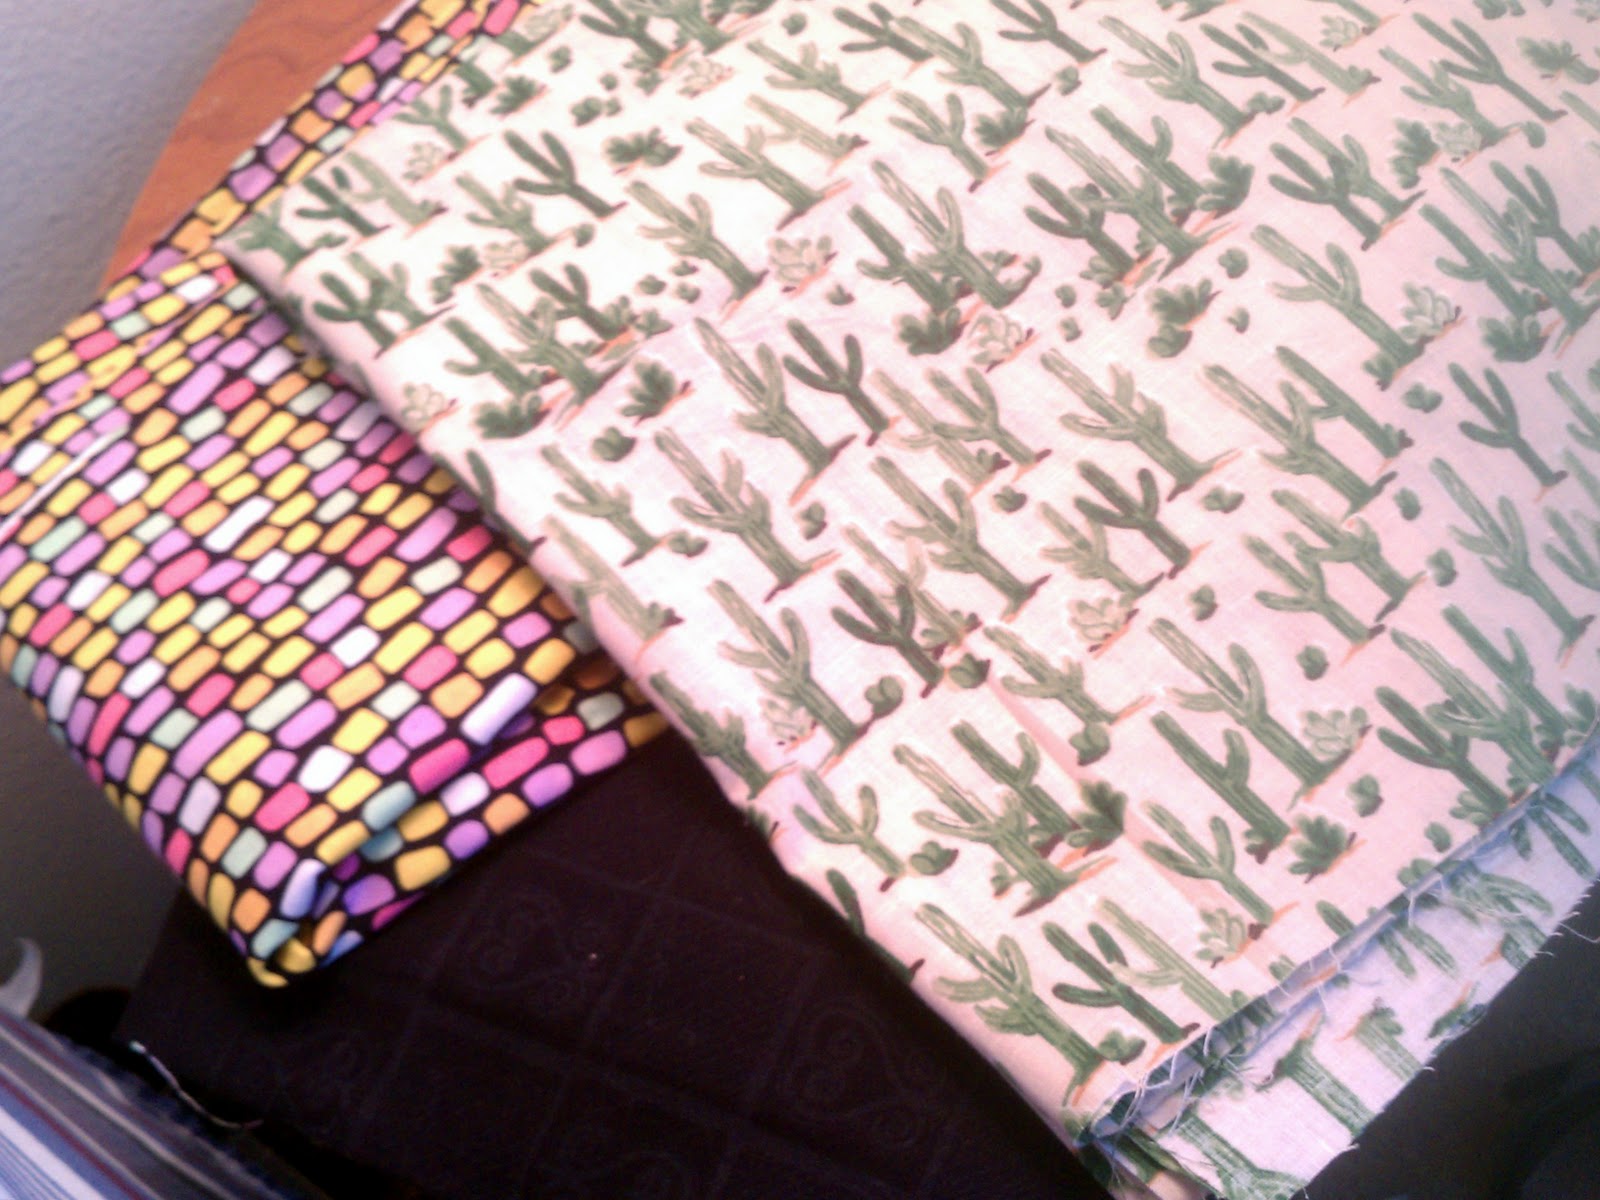
So, while I was going through my stash of 'reclaimed' fabric, I came up with this:


Beautiful, right? Sorry if I'm smug, but I'm really pleased with how this turned out. And it was probably one of the easiest projects I've ever done! 

You know those paper inserts they always have in store-bought frames? I just used that as a template by placing it on the fabrics and using a metal yardstick to use as an edge for my rotary cutter. A quilting square would work just as well, but getting it from the other room was much more difficult than making do with the yardstick... :) 

The background fabric is from various recycled sources (old shirt, pillowcase, pajama pants) and the lace is from an old curtain.  


I'd make a tutorial, but it's really that simple. No glue, sewing, nothing. Just cut, place and hang. 

Feel free to ask questions if you need me to elaborate more!

Thursday, October 13, 2011

Stitchin' Mission

Have you heard of Stitchin' Mission? 

Image Source: stitchinmission.org

It's a really cool concept started by local Iowan Linda  who wanted a way to give back to the community. Essentially, Linda offers a series of quilting lessons for FREE along with needed materials, provided that each student donate their first quilt to a charity that really needs it. 

There have been 24 missions so far, and quilts have been sent all over the world!

I'm really excited to be a part of Stitchin' Mission #25! Our quilts will be going to a local women and children's center in Des Moines. I have made two quilts on my own so far, but as I'm a completely self-taught crafter I thought it wouldn't hurt to get some expert advice.

If you click to Linda's blog post here, you can just make me out in the first group photo. Not that I enjoy being photographed (who does?!), but there I am! 

Tonight will be the next class and I'm really excited! Here is all of my fabric, pressed and ready to go:

This seems an odd combination to me, but I couldn't resist the cactus fabric. I'm looking forward to seeing how this comes together! 

I'll be blogging about this for the next few Thursdays, so check back with me to see my progress :) 

Ciao! 

Monday, October 10, 2011

Rain.

I'm stuck inside and on a roll, so here's just a few teaser pics of what I've been working on today :D


The lighting in the last picture is terrible. I'm working on it!

Sunday, October 9, 2011

Wolverine and Welcomes

Hi there, welcome to my blog!


I'm mainly going to use this space to highlight my finished projects as well as to add some tutorials, but there may be some outside content posted here from time to time.


To start things off in a bad-ass direction, here's my Halloween costume from last year.


Wolverine! (Read: not "Lady" Wolverine)


Wolverine has always been my favorite X-men character because of his general bad-assery. This is the original that I modeled my costume after:


My entire costume was made by hand, except for my eyelashes. The majority of the costume was made using t shirts and cardboard. The black was a shiny miscellaneous fabric I stole from a jacket sleeve. 

Here are some in-process pics:


One boot cover completed, halfway through another...you can see the t shirt I used on the left side


Top, fitted tank made from a t shirt with appliques. I alternated the pattern of the stripes from the original image to better suit a female figure. 


Buckle and one set of claws, pre-paint


Full Costume:


Back:


I had a blast making this costume, and it was even more fun getting people's reactions in public!


If you're interested in a tutorial for any piece of this costume, just leave a comment!