
You got a new scale!
Nope.
Oh...Then what'd you do with that crap one?
That is that crap one :)

Don't you love when projects work out like that?
The best part about this is that it was 100% complete in under an hour. Here's how I did it.
Step 1
Acquire a crappy scale.

I got this one at Goodwill for about $2.
Check to make sure it works before you buy it, of course.
Step 2
Clean said crappy scale.

Ta da! Looking better already....
Step 3
Masking tape.

Cover all of the parts you don't want to paint in masking tape and newspaper. You can paint the 'foot' part as well if you want, but I chose to leave mine black.
Clearly you need to cover the face , unless you want the scale to be purely decorative :)
Step 4
Get this stuff


Metallic spray paint, a neon accent color (I used acrylic but this could be spray paint as well), and a clear coat. The clear coat is important if you want the paint to last longer!
Step 5
Paint

Since I planned to paint the green by hand, I went ahead and sprayed all of it. I would recommended doing this outside, but sometimes I don't follow my own recommendations - don't tell my landlord.

The metallic paint also acts as a base coat for the acrylic. I did two coats of the green and it was fully covered. When you're done with that, spray everything with one or two coats of the clear coat. When that's completely dry...
Step 6
Remove tape. Amaze friends.

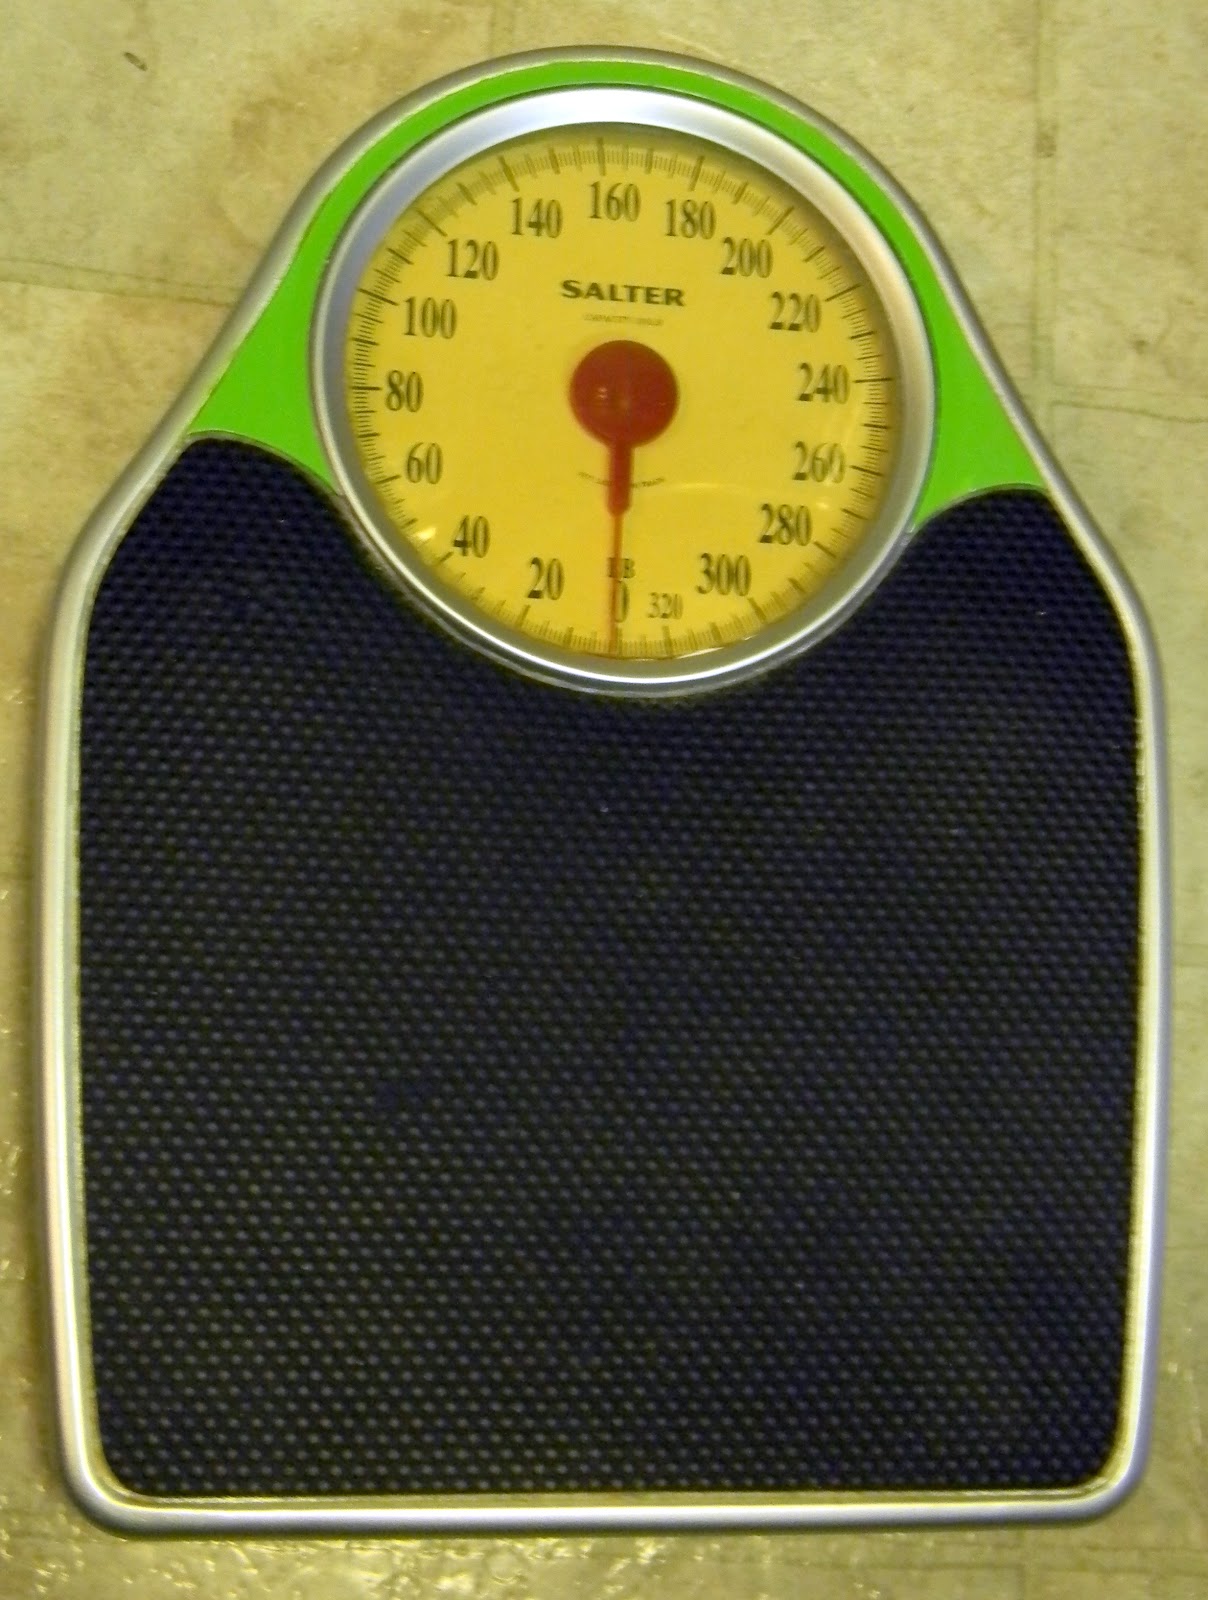
Stunning transformation, don't you think?
I love it when things turn out my way :)


